


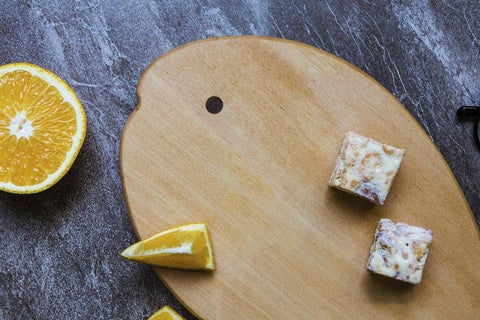
How cute fish-shaped wooden bread tray is!
This blog will give a detailed introduction to show you how to make a fish-shaped wooden bread tray, let’s beginn.
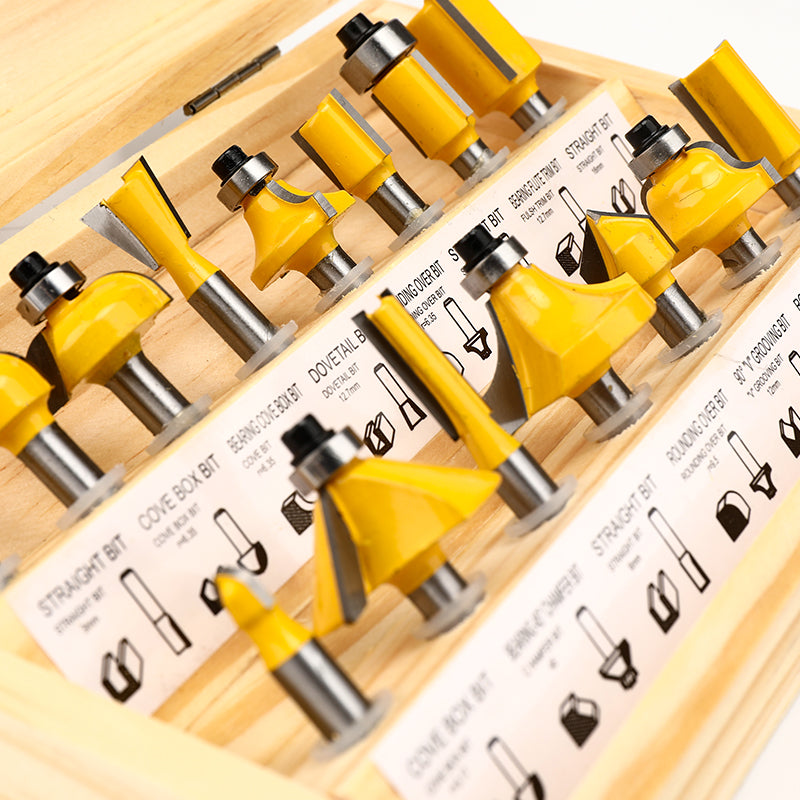
Tools maybe you need: pencil, tootock measuring ruler, small hammer, sandpaper, hand edge carving tool.
01
Hand drawn draft illustration
After repeated drawing and trimming, we obtained the final hand-drawn draft of the bread pan.

02
Cutting and net material processing
According to the shape design of the hand-drawn manuscript, a piece of wood of 400mm*200mm needs to be obtained, and wood that is split, worm-eye, and scarred must be avoided.
Net material processing is also a technical activity. It is necessary to use a table saw and press planer to saw the 6 sides of the wood. It also needs to have a good control of the direction, accuracy and adjustment of the blade.

03
Draw the shape of the fish on the wood
This step is to draw the design draft on the processed wood again to prepare for the subsequent processing of the workpiece.

04
Initially obtain the appearance of the fish
This step is to cut out the outer contour of the fish-shaped pallet. A Hegel pull saw is used. The flexibility of the saw blade is just enough to meet the needs of arc cutting, making the rectangular wood initially into the shape of a fish.


During the cutting process, keep the etched saw compactor to effectively compress the wood and keep the contour line.
05
Trim the periphery of the fish-shaped wood
In order to make the periphery of the wood smoother, use a file to smooth the saw road, and then use sandpaper to make fine adjustments.

06
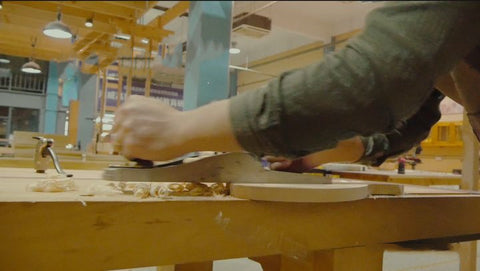
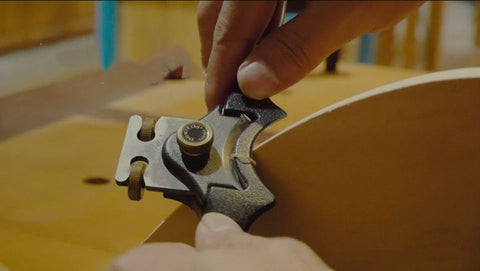
Fish-shaped wood surface treatment
The surface treatment uses manual planing and concave-bottomed bird planer. The wood surface can be smoothed by hand planing. The edge rounding treatment with bird planer will make the corners rounded and the final product will be smoother and neater.
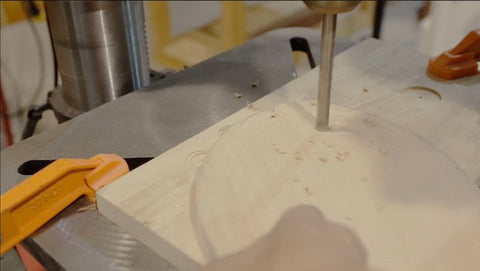
07
"Fish" eye
At this point, the shape of the fish-shaped bread pan has been made before, and now it is time to make the "fish" eyes.
Punch
First, set the drilling height of the bench drill, and put a piece of waste wood on the bottom to prevent the drilling machine from hurting the desktop. Use a drill with a diameter of 10mm to make a hole in the fisheye mark.

Turning round bar
The next step is to make the filler wood for the fish eyes, to the wood turning process.
Choose a dark walnut wood as the filler for the fish eyes, and use a lathe to cut out a cylindrical rod with a diameter of 10 mm, where the diameter of the rod is the same as the hole diameter of the "fish" eye.


Assembly
Finally, install the round rod into the hole made in the main part, and remove the excess part with a fine saw.
Polish the cut with sandpaper, and the fish eyes are finished.


Late stage: surface treatment
This is the last step. Sanding and oiling the surface of the wooden bread pan will enhance the color and texture of the bread pan.
Sanding is to rough-grind the wood surface first and then fine-grind it to facilitate subsequent oiling. When oiling, it will follow the direction of the wood texture to show the original wood texture. At the same time, the color of the wooden bread pan will become darker, reflecting the unique temperament of the wooden bread pan.
Sanding
Oil

At this point, the fish-shaped wooden bread tray was born!
Sample Block Quote
Praesent vestibulum congue tellus at fringilla. Curabitur vitae semper sem, eu convallis est. Cras felis nunc commodo loremous convallis vitae interdum non nisl. Maecenas ac est sit amet augue pharetra convallis nec danos.
Sample Paragraph Text
Praesent vestibulum congue tellus at fringilla. Curabitur vitae semper sem, eu convallis est. Cras felis nunc commodo eu convallis vitae interdum non nisl. Maecenas ac est sit amet augue pharetra convallis nec danos dui.
Cras suscipit quam et turpis eleifend vitae malesuada magna congue. Damus id ullamcorper neque. Sed vitae mi a mi pretium aliquet ac sed elitos. Pellentesque nulla eros accumsan quis justo at tincidunt lobortis denimes loremous. Suspendisse vestibulum lectus in lectus volutpat, ut dapibus purus pulvinar. Vestibulum sit amet auctor ipsum.


