


How to chisel a mortise with a hand chisel?
As a beginners I'm always asking why the mortises I've chiseled is always pitted, and the wood fibers of the mortises seem to be broken, rather than chiseled out, and what kind of smooth inner wall they imagined, the rules are far apart. First of all, you choose hardwood or softwood, and wood structure; secondly, the chisel must be sharp, a blunt chisel, and it is difficult for a master to make a standard The mortise comes; the chiseling technique is the last, let me talk about my experience.

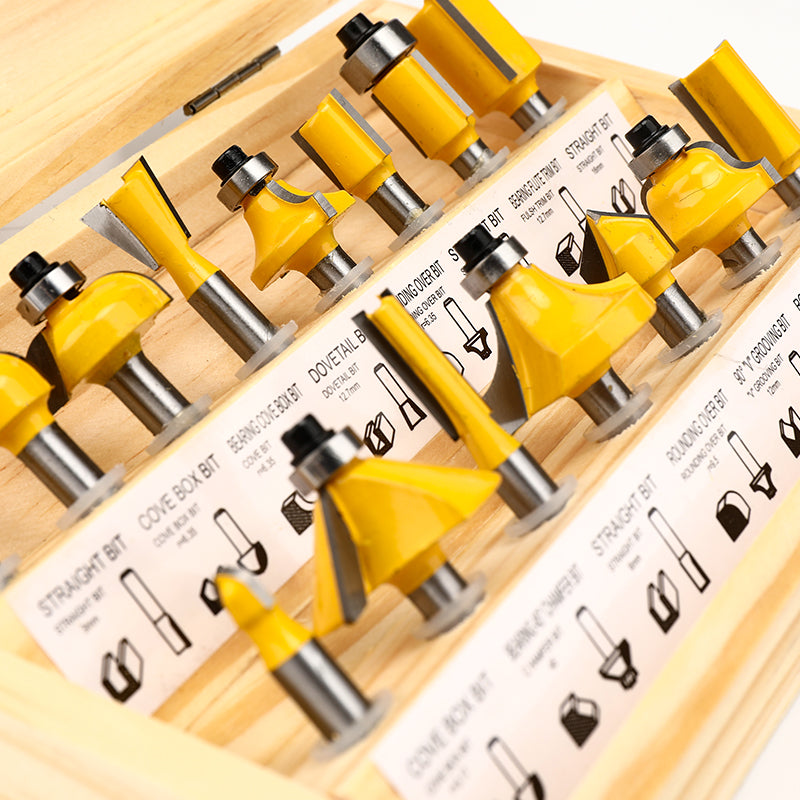
At first you need some tools like woodworking chisel (multiple specifications), Tootock measuring square, hammer, etc.
Before the steps I want to explain:
The sharing tutorial is the chiseling of mortise. The chiseling of the mortise usually uses a hand chisel to directly remove the waste material between the mortises. There is also an electric drill to remove most of the waste in the tongue and groove, and then use a chisel to shovel the excess waste. After chiseling out the waste, use a chisel to flatten the mortise wall and bottom of the mortise.
Step 1: Slotting
First fix the wood of the drawn mortise line on the workbench, hold the chisel handle firmly with your left hand, and place the chisel blade near the drawing line (about 5mm away from the horizontal line), with the chisel blade obliquely facing outwards. The lower chisel must be vertical (for beginners, I put a square ruler next to it for reference), hit the top of the chisel with a hammer to make the chisel blade enter the wood vertically, and then pull out the chisel to remove the wood chips from the hole. Repeatedly chisel to remove wood chips. When chiseling near another line, the chisel must be turned over, and the chisel must be smashed vertically to remove the wood chips. Here we are boring the mortise and groove, so pay attention to the depth of the mortise when you go down. For example, when piercing the mortise, you should gouge on both sides, so that the mortise will not tear.


Step 2: Chisel the wall
The wood in this case is cork, which is more standard for the mortise, so we cut the mortise here into two parts. First, use a chisel to leave the line to remove the initial mortise (as shown in the picture), and then use a chisel to cut the shovel according to the design line. First fix the chiseled mortise upward on the woodworking table, and then use a chisel to cut down vertically along the lines at both ends of the mortise. For beginners, it is best to put a square on the woodworking table as a reference to make the mortise. The vertical chisel wall is cut out by drawing lines at both ends strictly according to the design.


After chiseling both sides of the mortise, change to a wider chisel, and use your hand to press down and chisel the cheeks of the mortise vertically (as shown in the picture) to make both sides of the mortise smooth and flat. After the chisel wall is made flat, the inclined surface of the narrow chisel is pressed against the wall at both ends of the mortise (cut in the previous step), and the waste around the mortise (bottom) is cut out so that the bottom of the mortise is perpendicular to the surrounding mortise walls And flat.

Sample Block Quote
Praesent vestibulum congue tellus at fringilla. Curabitur vitae semper sem, eu convallis est. Cras felis nunc commodo loremous convallis vitae interdum non nisl. Maecenas ac est sit amet augue pharetra convallis nec danos.
Sample Paragraph Text
Praesent vestibulum congue tellus at fringilla. Curabitur vitae semper sem, eu convallis est. Cras felis nunc commodo eu convallis vitae interdum non nisl. Maecenas ac est sit amet augue pharetra convallis nec danos dui.
Cras suscipit quam et turpis eleifend vitae malesuada magna congue. Damus id ullamcorper neque. Sed vitae mi a mi pretium aliquet ac sed elitos. Pellentesque nulla eros accumsan quis justo at tincidunt lobortis denimes loremous. Suspendisse vestibulum lectus in lectus volutpat, ut dapibus purus pulvinar. Vestibulum sit amet auctor ipsum.


