


How to make traditional wooden drawer panels?
Traditional solid wood drawers are composed of front panels, side panels, back panels and drawer bottom panels. There are also various structural forms between the boards. Among them, the dovetail structure is the most commonly used. Generally, the panel and side panels adopt semi-permeable dovetail structures, and the back panel and side panels often adopt full-permeable dovetail structures. Today, here I shared an illustration of the combination of drawer panels and side panels, which is a graphic introduction to the process of translucent dovetail tenon.

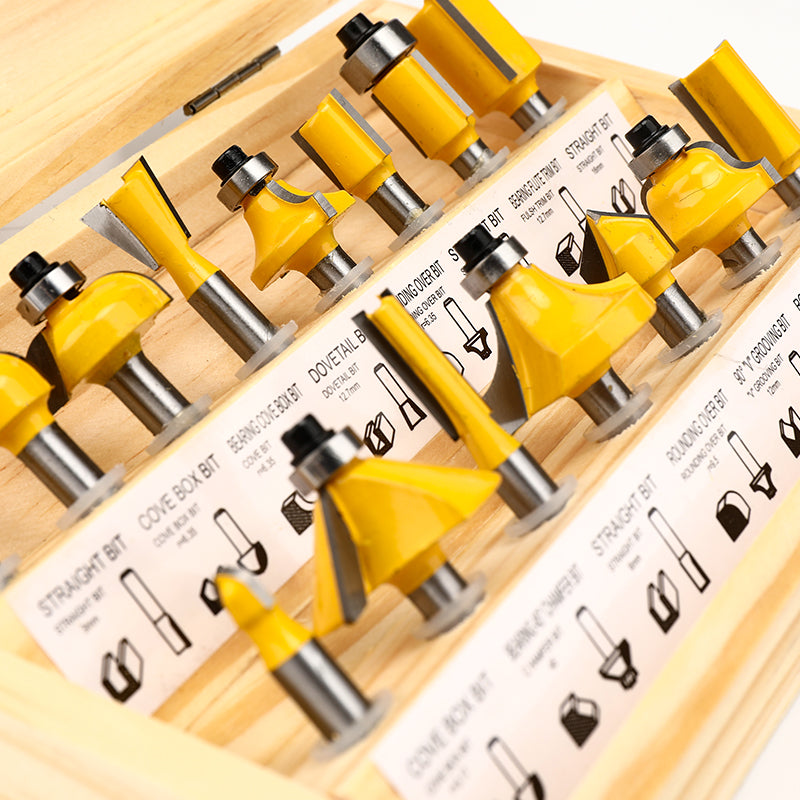
What kind of tools you need:
Panel, side panel, hand chisel (multiple specifications), wire gauge, hand saw, hand planer, measuring square ruler, line drawing knife, pencil, etc.

Before the steps you need to know:
The sharing tutorial is the making of the drawer panel. For a long time, the master carpenters invented various tenon and tenon structures for the stability of the furniture structure. Among them, there is a method of making wooden drawers with a dovetail structure. Although the manufacturing process of dovetail tenon is relatively complicated, the stability and aesthetics of the structure are incomparable to other structures, or the way of rough bonding with industrial glue. Therefore, it is necessary for us to learn the manufacturing method of dovetail tenon structure.

Step 1: Dovetail design and draw lines
In the picture, the black thick wooden board is the front panel of the drawer, that is, the end tenon board. The white veneer is the side panel of the drawer, that is, the tenon board of the drawer. First fix the panel on the woodworking table, use a wire gauge to draw the length of the tenon, about 1/5 of the thickness of the panel, and use the wire gauge to draw the shoulder line of the same thickness on the side panel. Then fix the side board vertically on the woodworking table, and divide the 4 dovetail tenon positions equally with a ruler.


Step 2: Making a dovetail tenon
Fix the drawer side panel vertically on the woodworking table with the end face up, and then cut diagonally downward along the tenon line (as shown in the figure) until the tenon shoulder line is cut. Pay attention to the smooth and uniform speed of sawing. When sawing quickly to the tenon shoulder line, pay attention to keeping the saw cut straight. After the 4 tenon heads are cut, place the side plate on the worktable and start to remove the waste between the tenon with a chisel.


Step 3: Draw the groove line according to the tenon
First fix the drawer panel vertically on the woodworking table, with the end of the board exposed slightly, and then hold the side board (tenon board) flat on the end of the panel board, and the inner surface of the board is aligned with the tenon shoulder line of the end tenon board. Then, use a scoring knife to draw the outline of the tenon on the end of the drawer panel, and then use a square to guide these scribing lines to the end of the board (as shown in the figure), and mark the "×" symbol on the part of the waste that needs to be removed.

Step 4: Making dovetail grooves
First find a board with the same width as the drawer panel (the white thick board in the picture), then align this board with the panel port and fix it on the woodworking table vise, so that the panel can be well protected when the groove is cut. Then use a hand saw to cut in turn between the tenon shoulder line and the end face tenon and groove line, paying attention to the saw cut should be located on the side of the scribed waste.

After the mortise on the panel is sawed, use a hand chisel to align the mortise shoulder line first, stabilize the chisel head, and then hit the chisel tail hard. The width of the chisel body should be smaller than the narrow end of the waste. Be patient when chiseling, and only remove a thin layer of waste each time. After the four mortise grooves are chiseled, the chisel is held horizontally, and the chisel edge is pressed against the edge of the baffle to patiently clean up the excess waste material on the smooth groove wall. 

Step 5: Test and assemble the dovetail
After making the drawer panels and side panels, try to assemble them first. Align the tenon plates of the side panels with the tenon grooves of the panel. First press the tenon and tenon as much as possible by hand. If the dovetail is too tight, use a pencil on the stagnant part. Make a mark, then use a chisel to shovel at the mark, and then try again. The dovetail joints between the drawer boards should be tightly connected. After the dovetail tenon is tested for the proper size, use a wooden hammer to knock the dovetail in place.


Step 6: Finished
The dovetail on the drawer board is interlocked by the tenon and the tail. It is one of the practical and beautiful tenon-and-mortise joints. Therefore, the dovetail on the drawer board is hand-made to the carpenter’s skill and diy patience. It is indeed a test. However, despite the time-consuming production, the drawer structure made of dovetail tenon cannot be matched by any joining method.

Sample Block Quote
Praesent vestibulum congue tellus at fringilla. Curabitur vitae semper sem, eu convallis est. Cras felis nunc commodo loremous convallis vitae interdum non nisl. Maecenas ac est sit amet augue pharetra convallis nec danos.
Sample Paragraph Text
Praesent vestibulum congue tellus at fringilla. Curabitur vitae semper sem, eu convallis est. Cras felis nunc commodo eu convallis vitae interdum non nisl. Maecenas ac est sit amet augue pharetra convallis nec danos dui.
Cras suscipit quam et turpis eleifend vitae malesuada magna congue. Damus id ullamcorper neque. Sed vitae mi a mi pretium aliquet ac sed elitos. Pellentesque nulla eros accumsan quis justo at tincidunt lobortis denimes loremous. Suspendisse vestibulum lectus in lectus volutpat, ut dapibus purus pulvinar. Vestibulum sit amet auctor ipsum.


